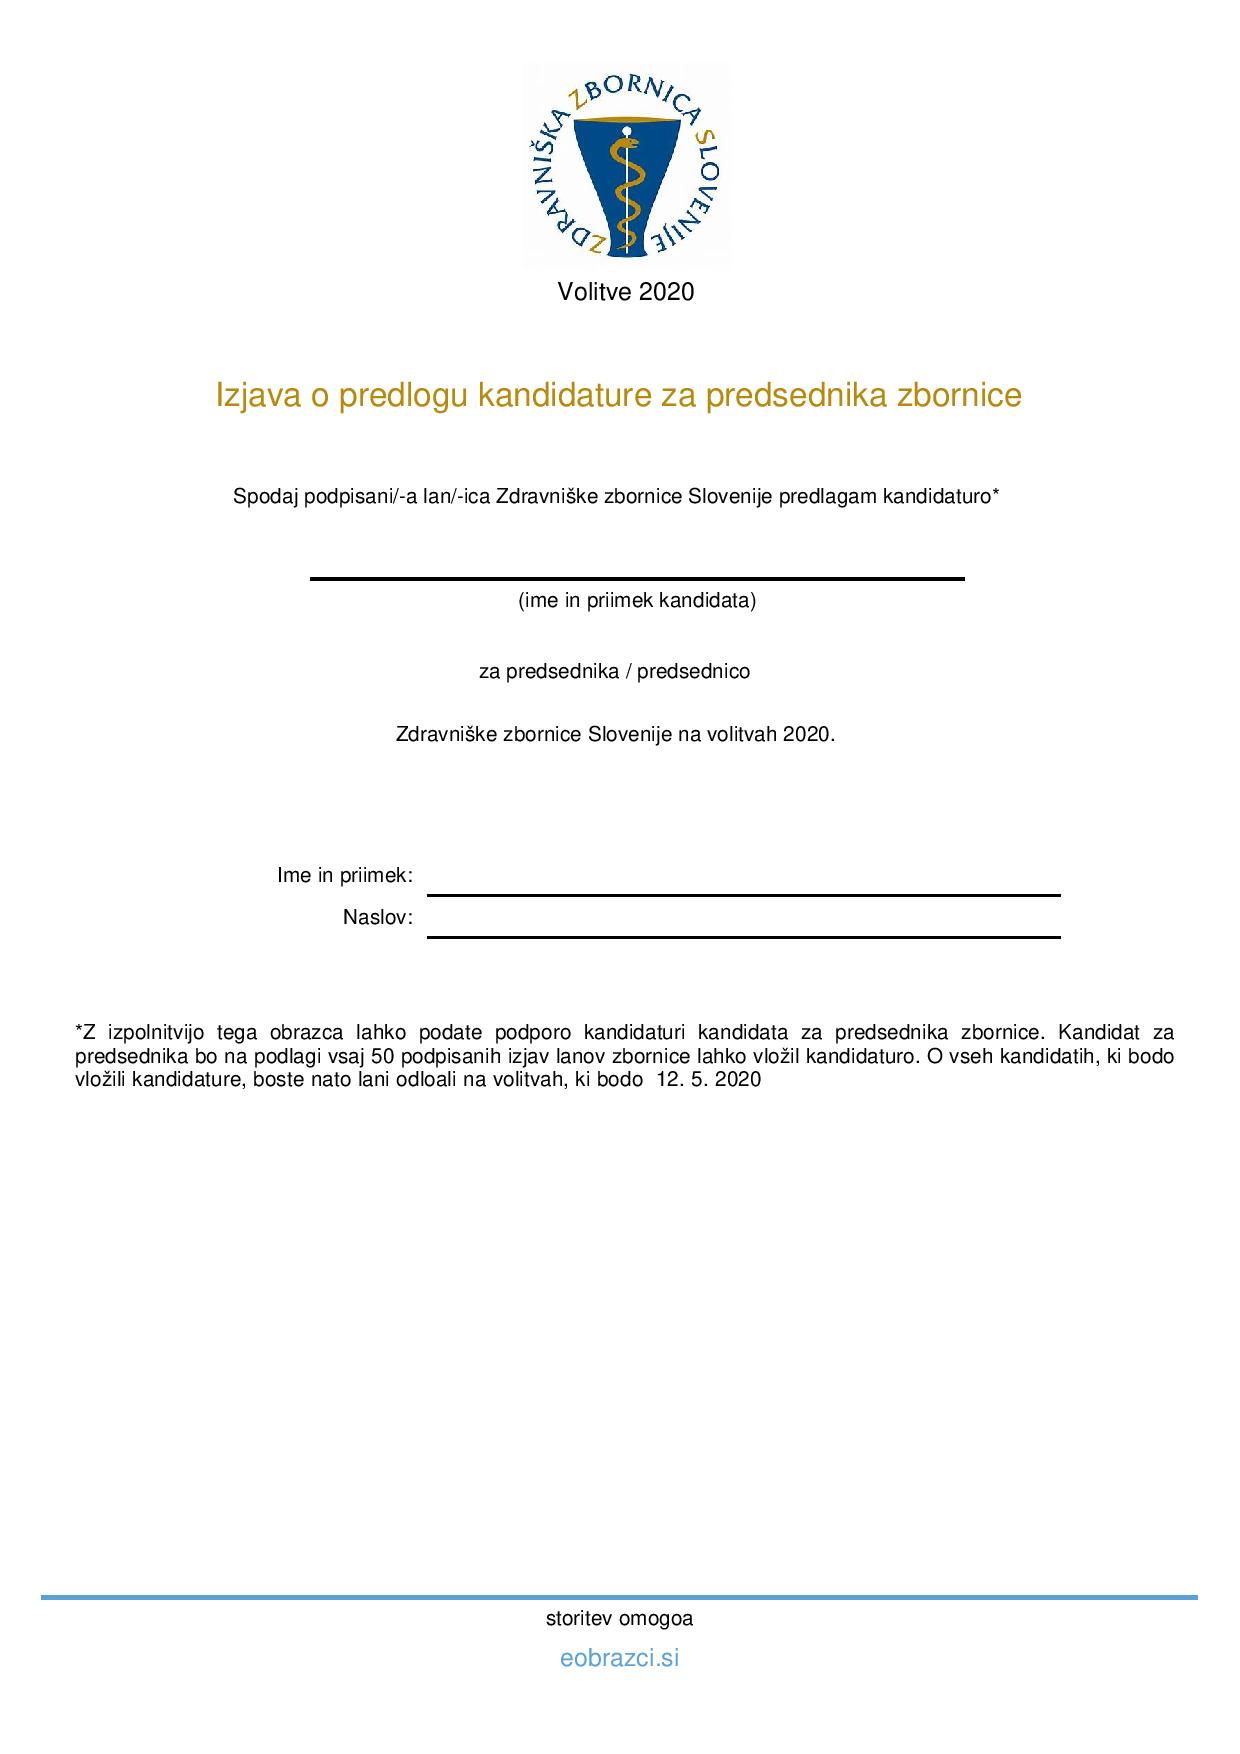
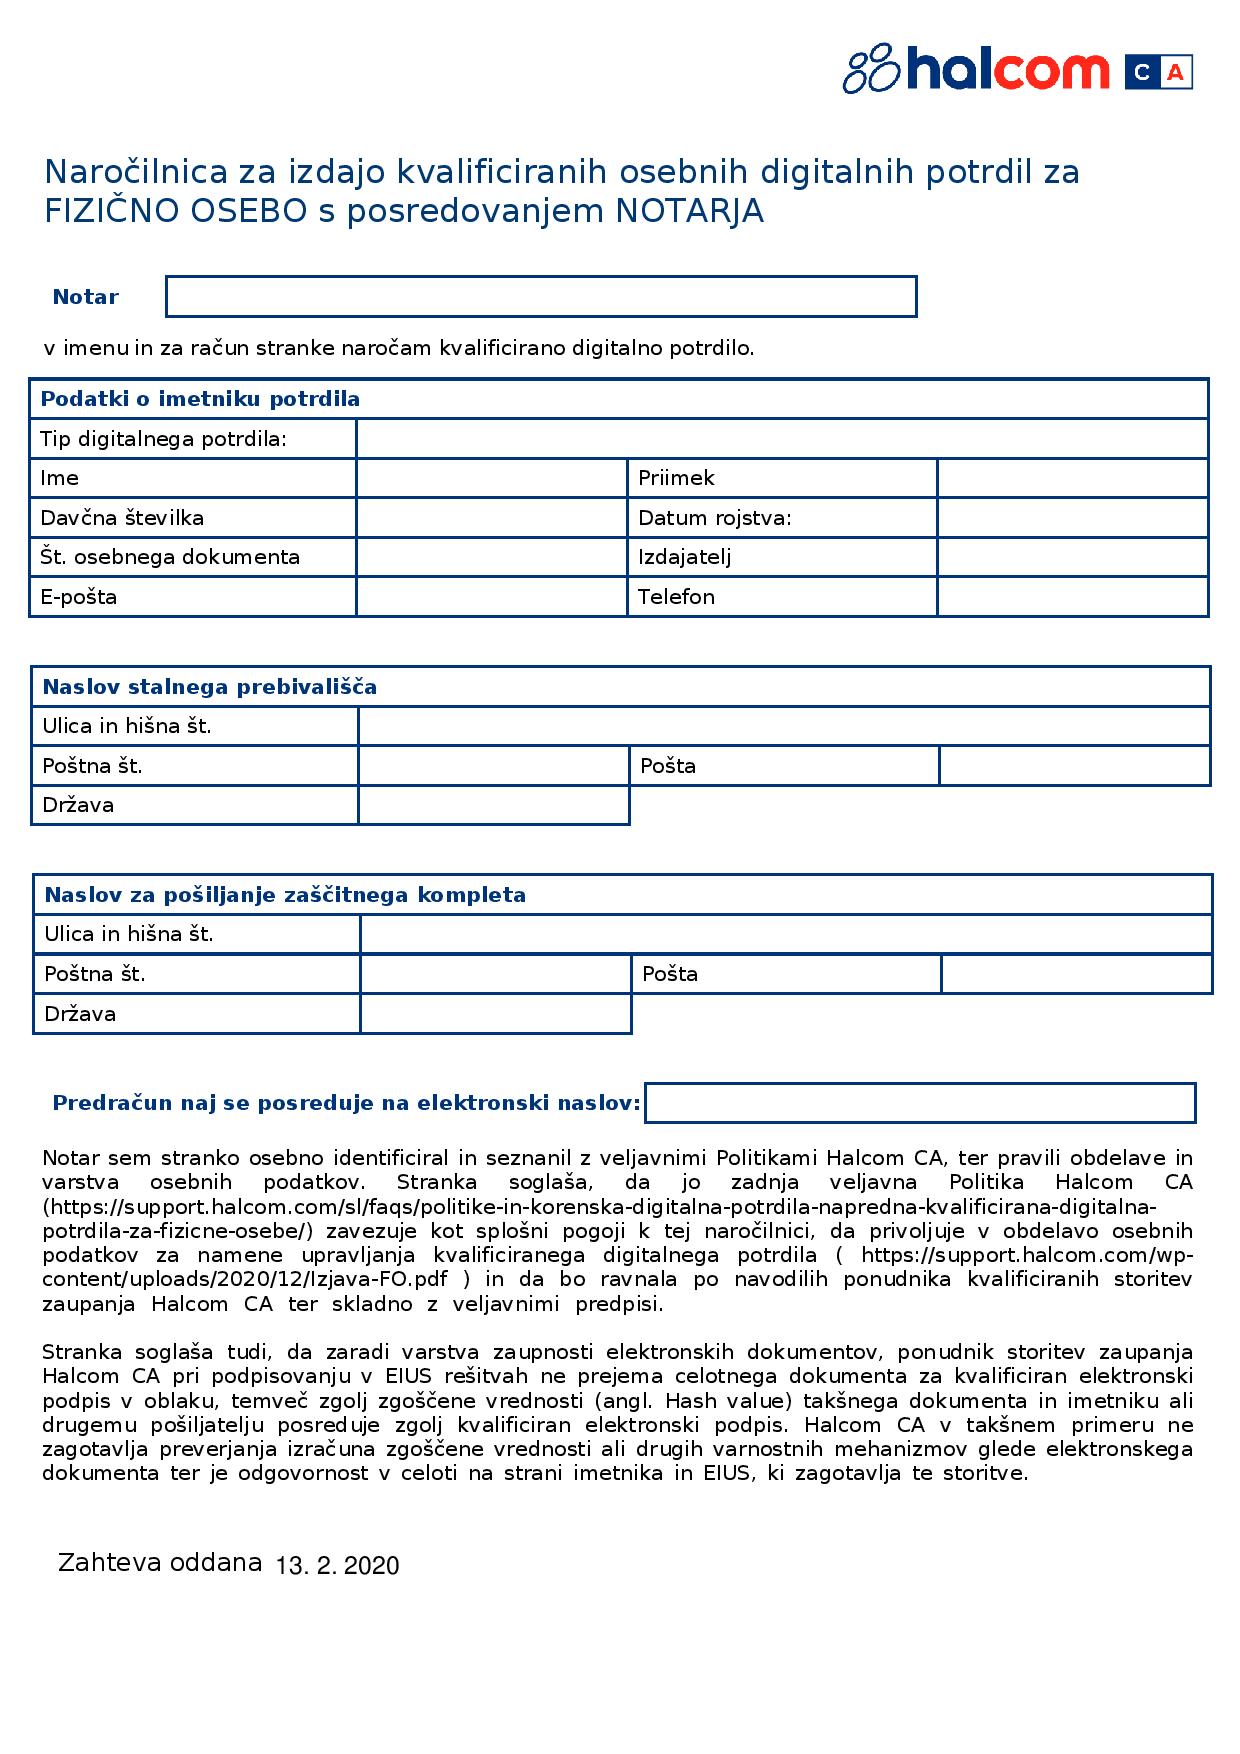
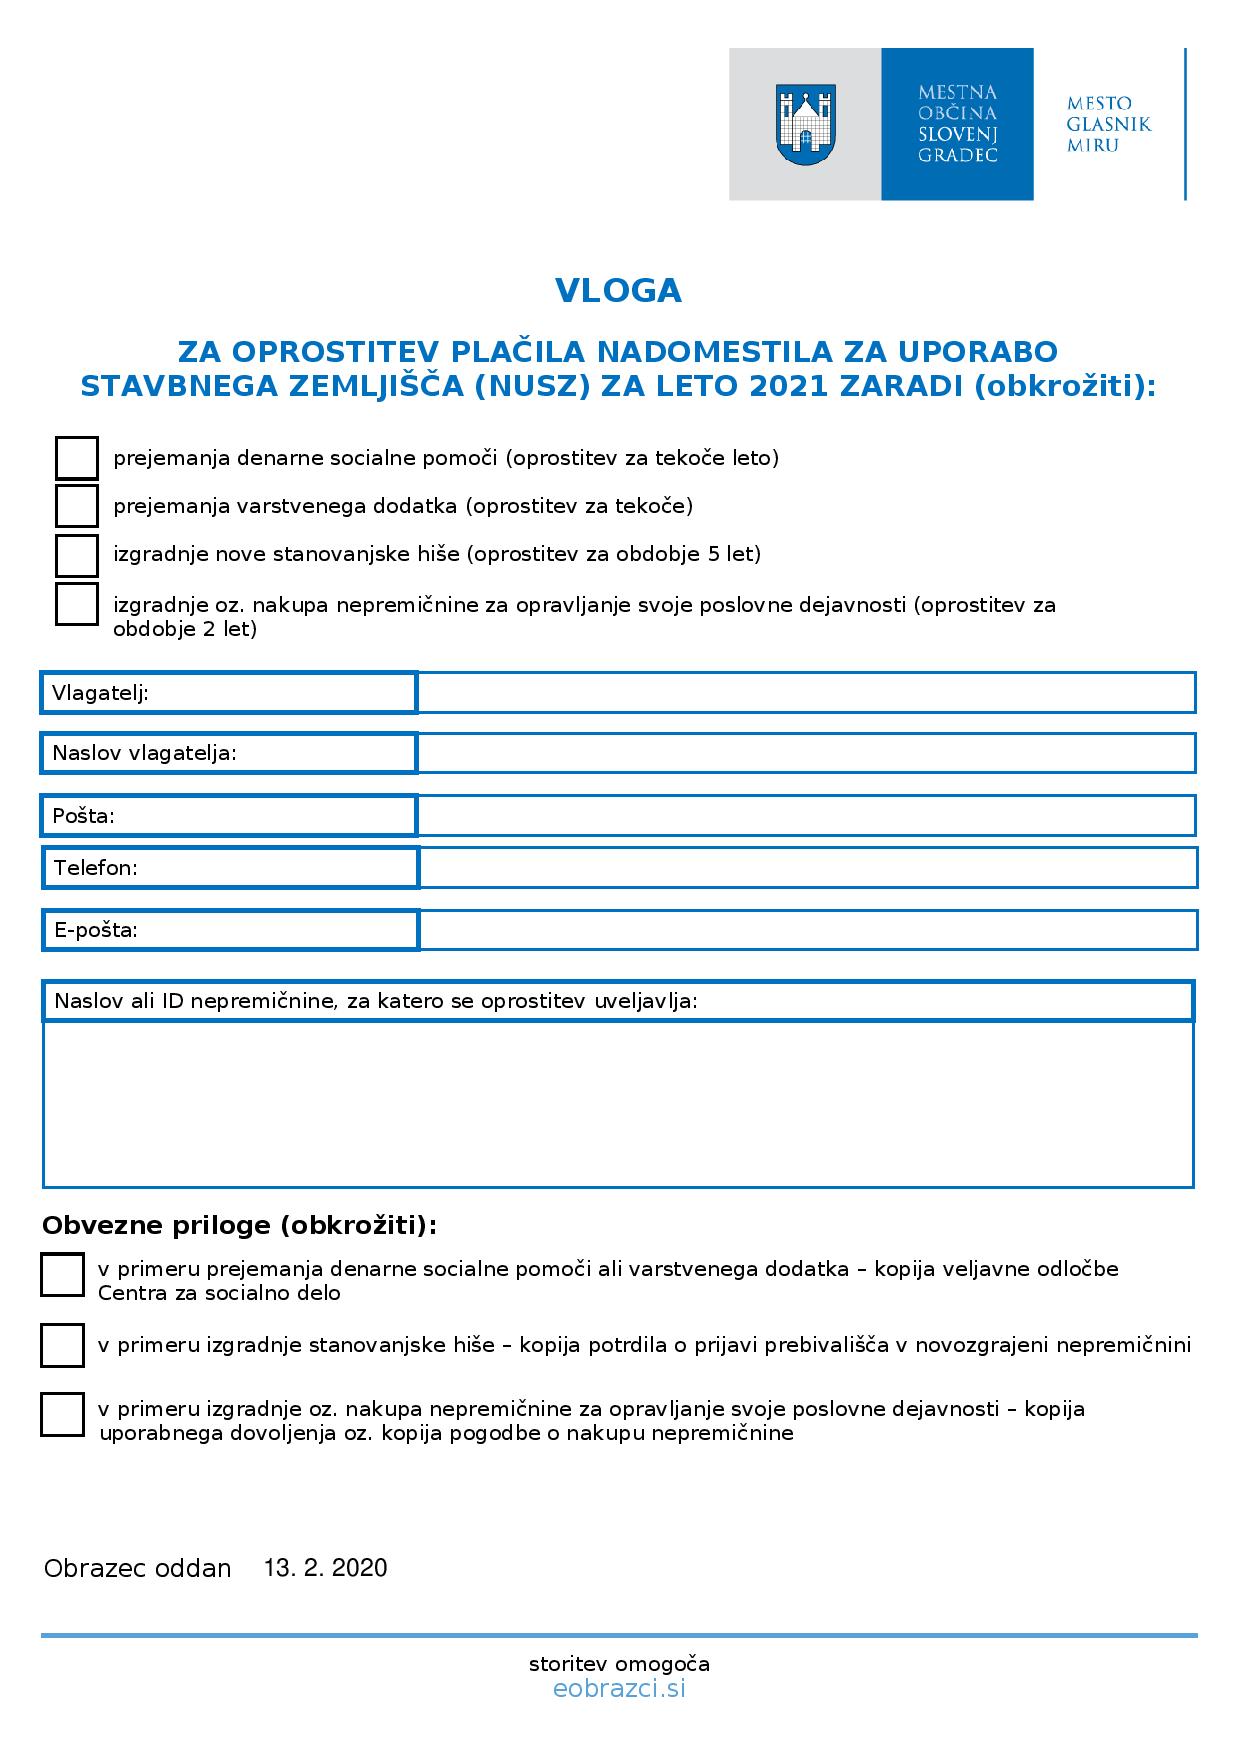
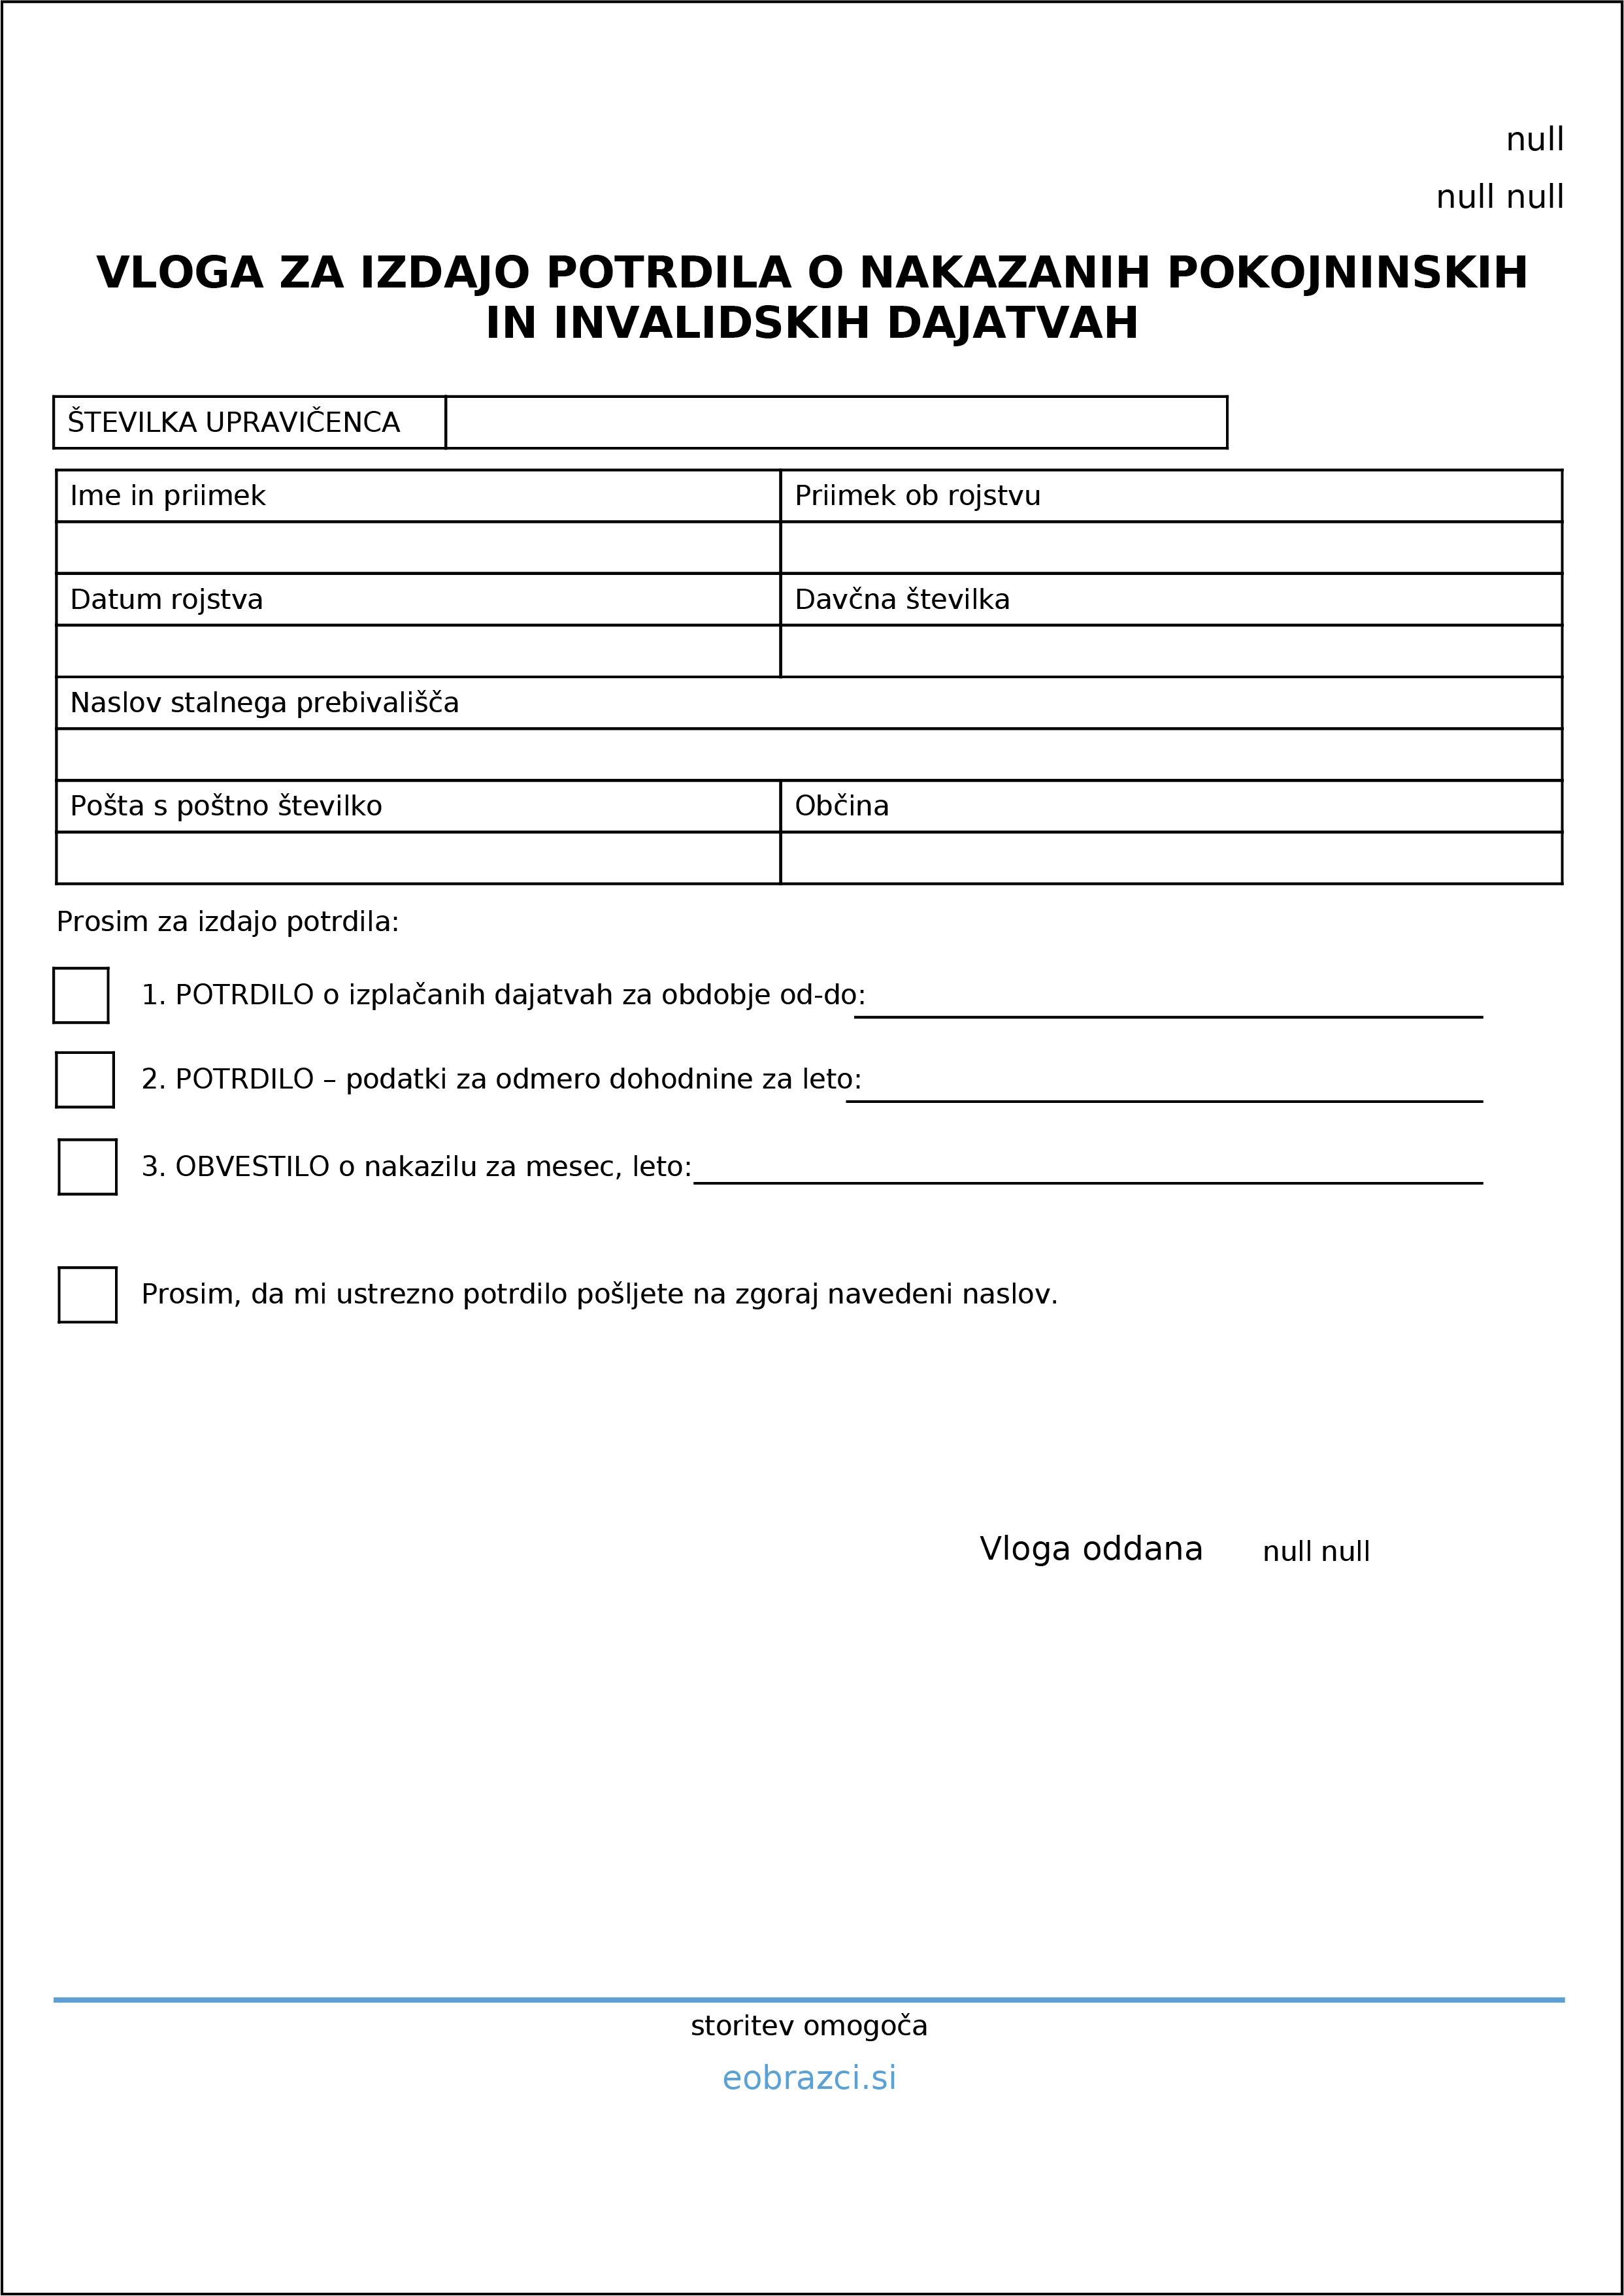
Preparation and sending of e-contracts
- Switch to the “Contract” environment at the top left.

2. To prepare and send a new contract, click on “New E-document” and select the desired document from your files on your computer and upload or simply drag it from the folder to the blue box.
3. If you attach several documents, you can also merge the documents into one – mark the desired documents and combine them by clicking on “Merge selected documents” or convert them to PDF/A format by clicking on “Convert selected to PDF/A .” You can also specify which documents should be signed by you when sending.

4. To send the contract enter the addresses of the recipients or signatories of the contract. You can add a new signatory by clicking on the icon on the right (plus in the circle). You can send the contract for signature both to the VEP addresses and to the usual email addresses. The only condition for receiving and signing without a secure mailbox is that the recipient has a digital certificate or a certificate in the cloud and that you provide their phone number, as we will send them a one-time password for access by SMS.
How the priorities and order of signatories work:
If you list more than one signatory in the Signatory line, this means that the notice of the invitation to sign the contract will be sent to all of the above, but the contract can be signed by only one of all possible candidates.
Example: mary@vep.si or kathy@vep.si are both listed as 1. Signatory. Either Mary or Kathy will be able to be the 1st Signatory. If Mary is the first to access the contract and sign it, Kathy will be informed when she tries to sign that her signature is no longer needed.

However, if we list mary@vep.si as the 1st Signatory and kathy@vep.si as the 2nd Signatory, an invitation to sign the contract will be sent to both and both will be able to review and sign the contract.

5. On the right you can see a preview of the attached documents and determine the position of the signatures by dragging them to the desired location. If you do not specify the position of the signatures yourself, they will be determined automatically. You can specify the position of the signatures for each added document separately.

6. Send the contract by clicking on the “Send for signature” button.
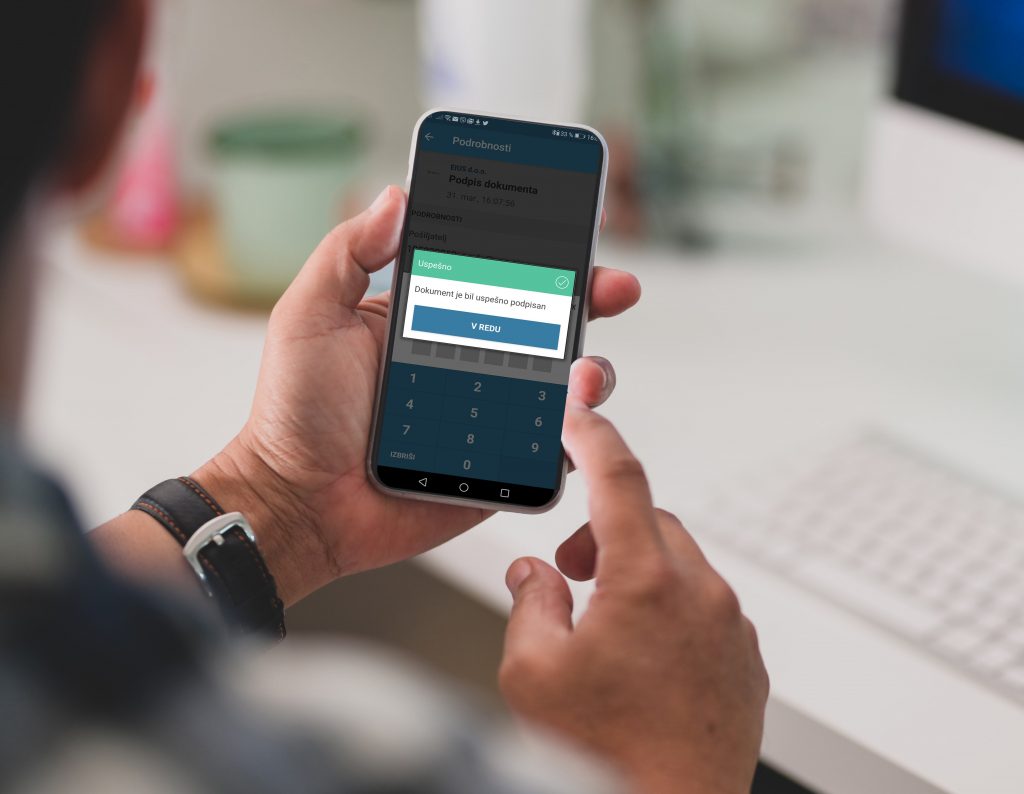
7. When the signatory signs or rejects the contract and adds a comment, either the signed contract or the message with the reason for rejection is displayed in the “Inbox” in the eContract environment.